

Capturing light is at the heart of any video production. Cameras rely on sensors designed to be sensitive to light in order capture an image either still or moving. It wasn’t long after the invention of camera technology that image-makers began to notice the impact of light sources on their images.
But even today, hundreds of years after the invention of cameras, understanding for the practice of lighting is still developing. With the addition of digital workflows, many established practices have also been updated to accommodate the trade offs when working without film.
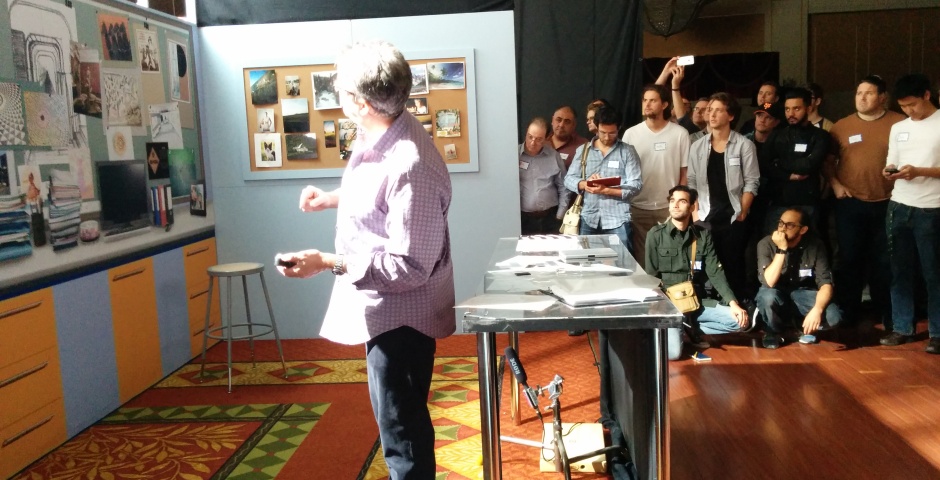
The Dan Rascal crew recently took a trip down to Toronto to learn from Hollywood DOP (Director or Photography) Shane Hurlbut, a master at manipulating light for the purposes of dramatic storytelling. Shane and his crew set off in summer of 2014 to take their experiences across the continent and share what they’ve learned when it comes to capturing beautiful images efficiently both in time and cost. The tour has been appropriately named “The Illumination Experience.”
We diligently took notes throughout the day and have put together some key concepts for you to understand how lighting with purpose can add significant production values to your videos.
GET LIT WITH DAN RASCAL – MOTIVATED LIGHTING

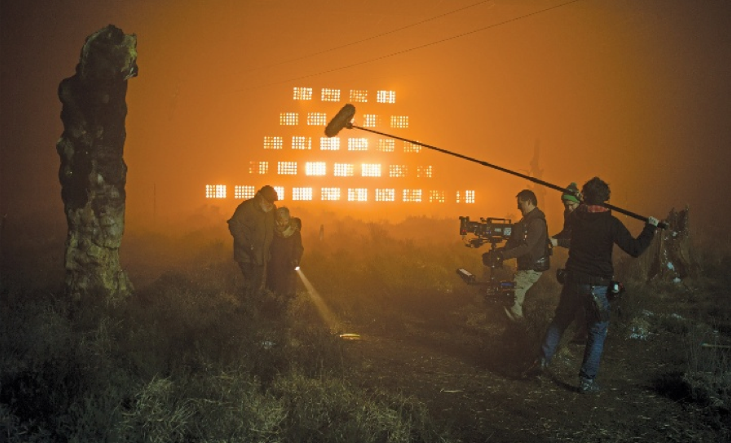
Simulating Daylight on the set of ‘Crazy Beautiful’
When lighting a scene, the first question we have to ask is, where is the light coming from? If we’re outside during the day, the obvious answer is from the Sun, but when shooting inside, we may be dealing with less obvious or sometimes even conflicting sources.
Identifying the primary source of light in a scene gives opportunity for motivated lighting. Motivated lighting helps maintain suspended disbelief among viewers who can subconsciously identify unnatural, or illogical sources of lighting. For example, if we’re shooting a commercial inside a room with a single lamp and a single window, it would look unnatural to the viewer if we added another light source opposite the window and lamp. This would destroy the hard work done to create a scene with realism.
But often the lighting within a room, or even outside, might not be enough for appropriate image quality, or lackluster when using light to convey emotions, moods or story. So the solution is to supplement the light, but not in a way that feels unnatural.
INDUSTRY STANDARDS
Roger Deakins masterful light design on Sam Mende’s ‘Skyfall’
Much of the success from Hollywood stems from a business like approach to the art of filmmaking. Standards have been implemented and updated since the early days and crews are expected to work together cohesively with narrow windows of time to complete difficult tasks.
Because of this pressurized environment, crews rely on certain standards and concepts as starting points. These standards have been developed from years of experience and testing for what works, and what doesn’t. Although there are rarely any hard rules in filmmaking, standards provide a good starting point for communication and inspiration of ideas.
At the illumination tour, The Dan Rascal Crew was able to work with many of the tools that are standard in the world’s biggest, most expensive productions. Each production will call for a unique set of tools, but here are some of the categories that are most commonly used for achieving picture perfect lighting and images.
LIGHTS
They come in all shapes and sizes, types and purposes. Most commonly, industry standard video lights are referred to by their wattage, which roughly translates to their overall brightness. But beyond wattage there are also differences in types of light emitters, the colors within those emitters and the directionality of the lights as well.
LIGHT METERS
There is little room for error with big, expensive productions. Because of this, Directors of Photography rely on Light Meters to give them accurate readings of the level of light in a scene. This helps to determine camera settings and the placement, or intensity of supplemental lighting.
FILTERS
Filters are placed in front of camera lenses and can have a wide range of effects on an image. The most common uses for filters is to bring down the overall intensity of light reaching the camera to avoid images that look blown out.
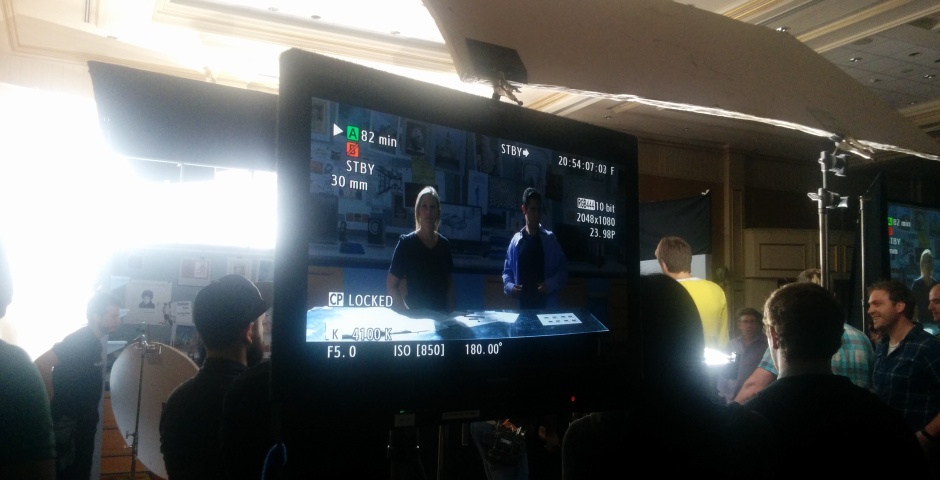
MONITORS
Most cameras have built in monitors to display what’s being seen through the viewfinder. These monitors are often too small, or ill equipped for giving an accurate representation of what’s being captured. Because of this, an external monitor will be wired to the camera to provide more accurate feedback in real time.
APPS
More and more, cinematographers are relying on different APPS for a wide range of use. At the Illumination Experience, apps for tracking the movements of the sun, and apps for managing equipment were on display.
LIGHTING A SCENE
One of the major topics covered at the Illumination experience were the techniques for lighting dramatic scenes. The Rascal Crew was surprised to see Shane speak out against common wisdom for the use of the most standard set up of three point lighting.
Three-point lighting is broken down into three different sources. KEY, FILL, and BACKLIGHT. Although this setup is not always needed or recommended, it is an industry standard and viewers have been trained or accustomed to seeing it in all forms of video.
The KEY light is typically the first to be placed. Shane likens it to a painter’s first stroke with a brush. The KEY is the typically the primary source of light and will placed off axis from the camera which creates shadows.
Shadows is why we then place a FILL light, usually on the opposite side of the camera to “fill” in the shadows and reduce the contrast. Most viewers will equate shadows with uneasiness or dishonesty, and this should be avoided unless the scene calls for such particular looks.
The BACK light is then used to create separation between the focal point (usually an actor) and the background, giving an impression of perspective and depth. Without a back light, the image may look flat which is unlike the way we see things in real life.
A major insight came when Shane spoke about his practice of using same side fill. His practice of placing the FILL light, on the same side of the camera as the KEY light is for the most part outside of conventional practice and wisdom which would have the FILL placed opposite the KEY in order to fill in shadows and reduce contrast.
By placing the FILL on the same side as the KEY, we can achieve a more natural look and avoid casting shadows in a direction with no motivated light source. It also gives more flexibility for altering the placement of the KEY that means more control over how the final image will display and ultimately communicate story.

DOP Emmanuel Lubezki monitors the camera movement and light on Terrence Malick’s ‘Tree of Life’
CAMERA MOVEMENT
Lighting is an effective tool for telling a story, but we can also supplement the images by adding movement with purpose. Shane was able to show how movement can either enhance emotions in a scene, or detract from the intended impact.
The standard is to stabilize the camera in some way to avoid shakiness, which can look amateurish in most scenarios. Even with movement, it’s important to still aim for a stable image. A common method of adding movement in Hollywood is to lay down tracks and place the camera on a dolly that would then follow the tracks like a train. This provides very smooth movement, which can subtly enhance the attention paid to dramatic moments.

A wheelchair makes a great dolly.
A new (but expensive) way of adding movement is handheld with gimbal stabilizers. This method combines the stabilization of dolly tracks with the freedom of handheld movements. Shane recreated a scene from one of his movies and demonstrated the differences between a stable shot on a tripod, a slow creep in with a dolly, and a faster push in with a MOVI (gimbal stabilized).
The differences between the three were drastic. On the tripod, the scene felt uninspired and we as the audience were far removed from the emotion and drama playing out on screen. The MOVI, despite being a fun toy, was too chaotic in it’s movements for the scene, and too contrasting with the slow pace of the dialogue and actors movements. The dolly tracks suited the scene well though, as the movement was subtle enough not to distract from the emotions portrayed by the actors, but still allowed us to get closer to the intimate moment. It was a great example of choosing the appropriate movement for a scene, and a lesson in why you shouldn’t chose equipment just because it’s new and fun to play with.
LIGHTING ACTORS
Perhaps one of the most informative portions of the experience was a case study in lighting the faces of actors. For the study, Shane had an actress placed in front of the camera and then walked us through his process of approaching a lighting setup.
He of course started with his KEY light and paid special attention to how the placement of the light affected the shadows. Pointing to the nose, eyes, cheek and chin, we was able to manipulate the shadows and create different looks, some flattering to the features of the actor, others designed to indicate power and authority, as well as creating looks which created mystery or intrigue.
Soft light was favoured for the KEY light since the soft light was able to wrap around the angular features of the face. Hard light also has the pitfalls of exposing flaws in skin, something actors typically want to avoid. Special attention was paid to the height and angle of the key light. Placing the light too high results in shadows beneath the eyes, too far off to the side resulted in a longer shadow from the bridge of the nose.
After setting his KEY light, the next to come was the FILL. Here he employed his method of same side fill, and placed the fill light between the KEY and the camera. Since the key light was the primary source of motivated light in the scene.
Come visit us @ http://dpc.zro.mybluehost.me/
We’re also a phone call away 613 226 8282
Our D-Mail works too: info@abc4188.sg-host.com